A Straight – Wavy Hair Catalogue
1: Down
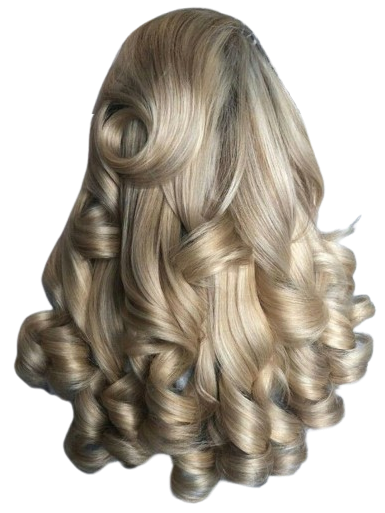
1. Princess Curls
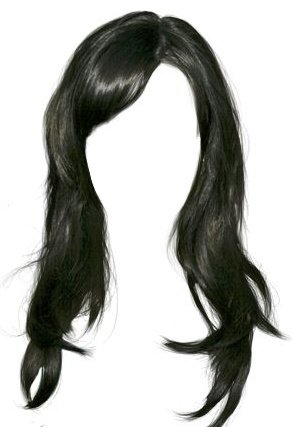
2. Side Bangs
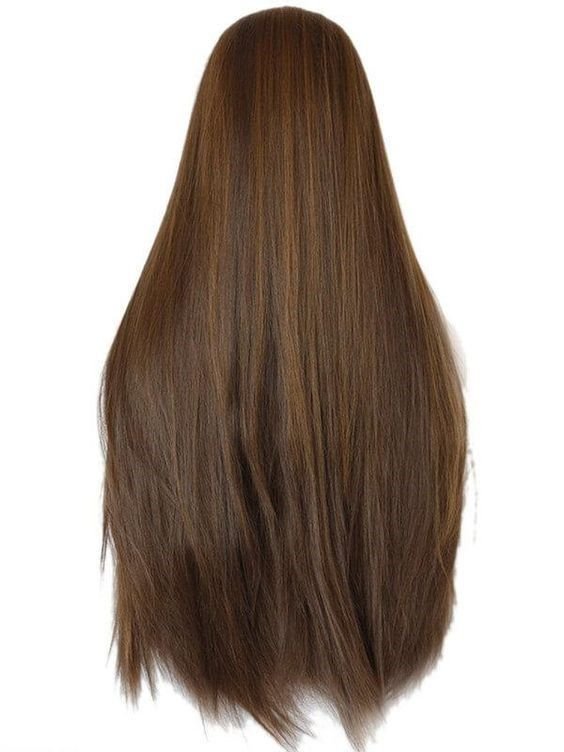
3. Straightened
How To Achieve The Look:
1. Princess Curls: Start by dividing your hair into manageable sections. Using a large barrel curling iron, curl the first section of hair, then while the curl is still warm, carefully wrap it around a hair roller and secure it in place. Repeat this process for each section until all of your hair is in rollers. Leave the rollers in until your hair has completely cooled. The longer you leave them in, the better your curls will hold, but I recommend at least 30 minutes. Once cooled, gently remove the rollers and finish with a light mist of hairspray to lock in your soft and bouncy princess curls.
2. Side Bangs: Lightly dampen your side bangs or spritz them with water, then use a round brush and a hair dryer to blow dry them away from your face, rolling the brush under as you go to create soft volume. Once dry, gently brush them into place and finish with a light mist of hairspray to keep them in place!
3. Straightened: Start with clean, completely dry hair and apply a heat protectant throughout. Divide your hair into small sections, then slowly glide a straightener from the roots to the ends, using one smooth pass whenever possible for the sleekest finish. Continue section by section until all of your hair is straight, then lightly smooth over any flyaways with a small amount of hair oil or serum. Finish with a light mist of hairspray to keep your hair shiny, and frizz free all day.
2: Half Up, Half Down
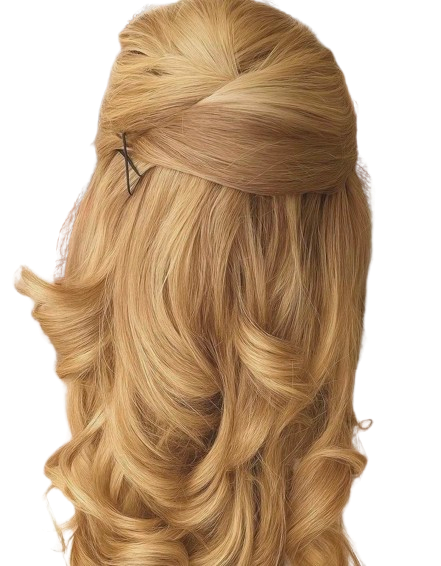
1. Criss Cross
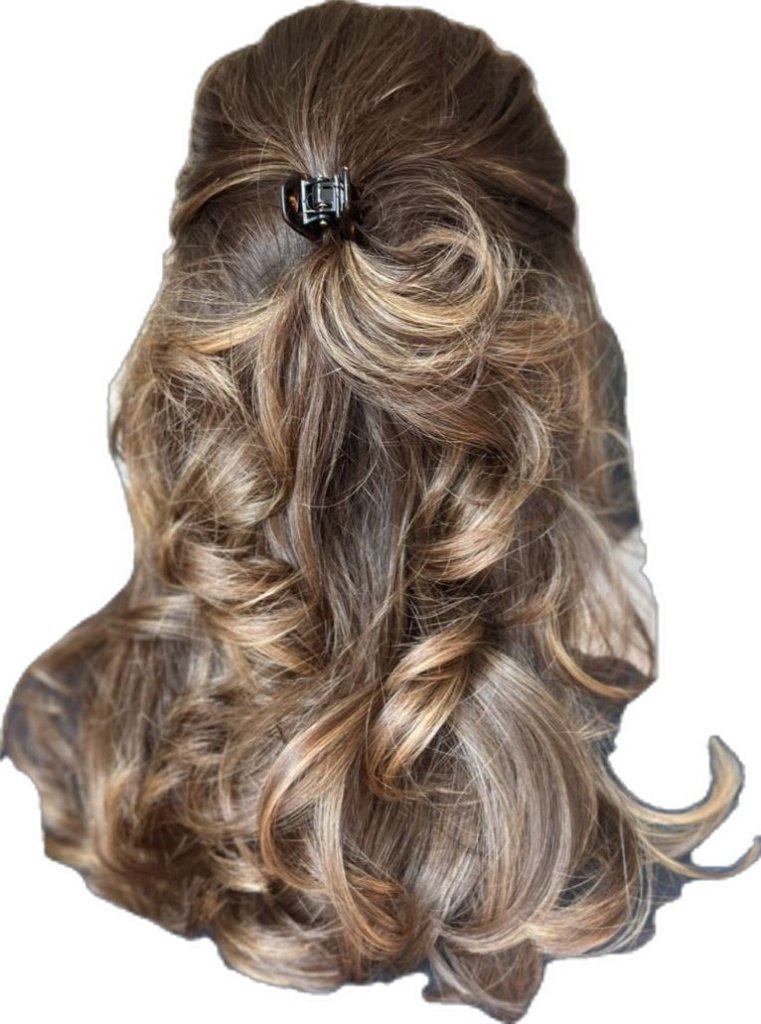
2. Mini Claw Clip
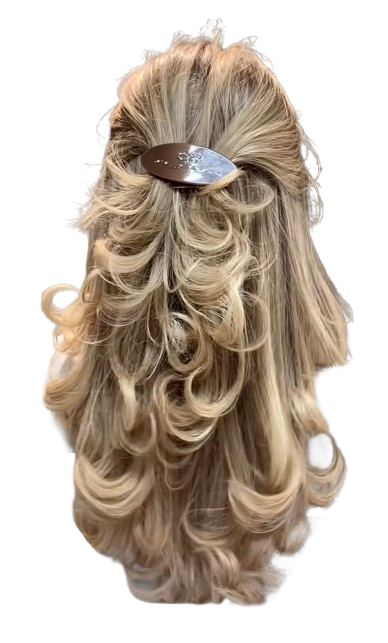
3. Barrette
How To Achieve The Look:
1. Criss Cross: Separate two sections of hair from just above each ear, leaving the rest of your hair down. Take one section and pull it across the back of your head, securing it on the opposite side with bobby pins. Then, take the second section and cross it over the first, pinning it on the opposite side to create the criss cross effect. Gently adjust the sections until they look smooth and even. This hairstyle looks best on a fresh blowout!
2. Mini Claw Clip: Separate the top section of your hair, leaving the rest down. Gently gather the section at the back of your head, twist it slightly if desired, and secure it with a mini claw clip. Loosen a few pieces around the crown for a more effortless look. This hairstyle is perfect for adding a cute touch to both straight and curled hair!
3. Barrette: Separate the top section of your hair, leaving the rest down. Gently gather the section at the back of your head and smooth out any bumps before securing it with a barrette. Adjust the hair around the crown for a voluminous finish. This simple hairstyle pairs beautifully with both sleek straight hair and soft curls.
3: Messy Bun
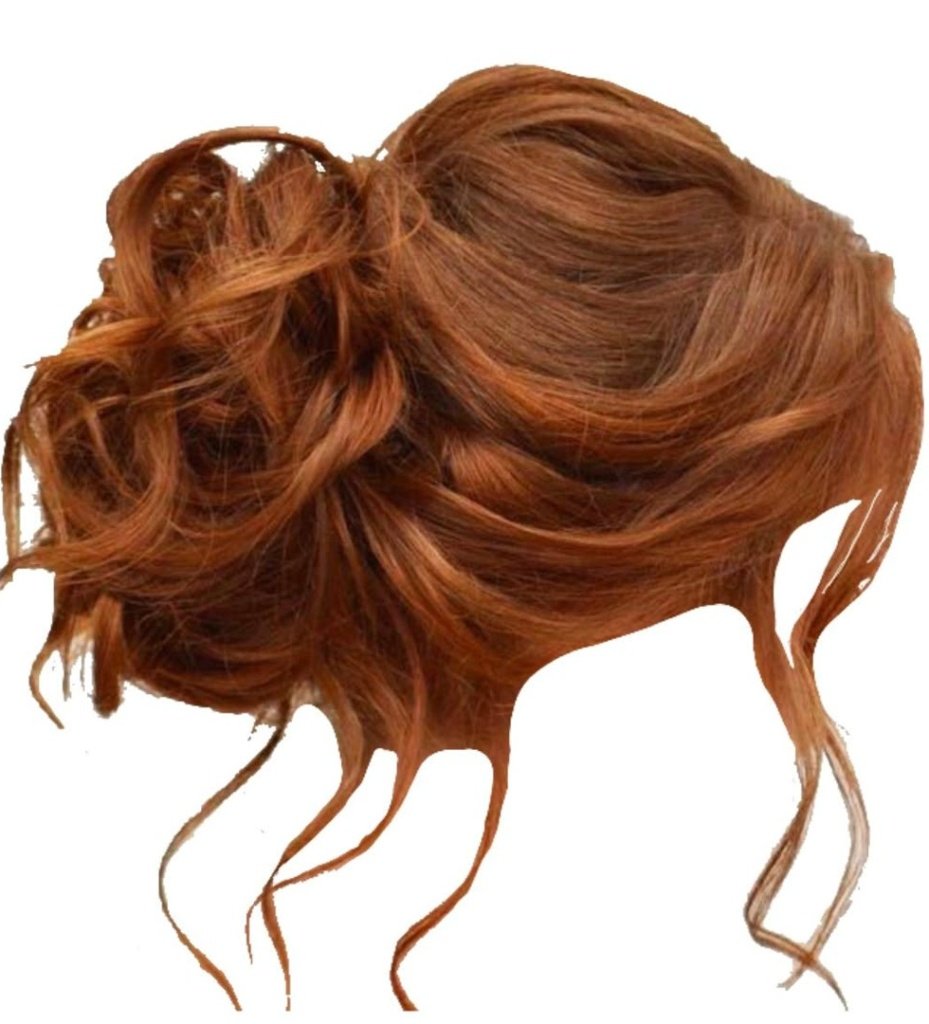
1. Styled Messy Bun
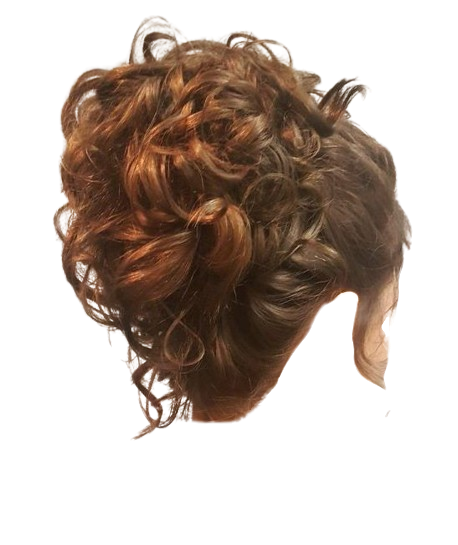
2. Curled Messy Bun
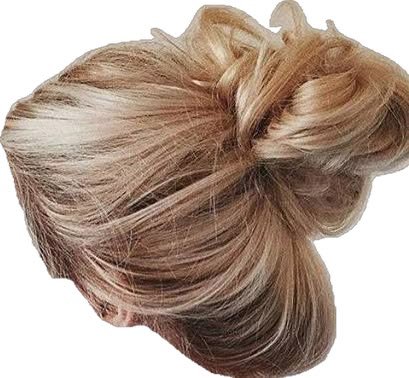
3. Loose Messy Bun
How To Achieve The Look:
1. Styled Messy Bun: Start by gathering your hair into a low ponytail, leaving a few face framing pieces out at the front. Twist the ponytail loosely and wrap it around itself to create a relaxed bun, securing it with bobby pins or a hair tie. Gently tug at the crown and the bun to add volume and create a fuller, undone look. Pull out a few wispy strands around your face and nape, then set everything in place with a light mist of hairspray.
2. Curled Messy Bun: Start with curled or textured hair to give the bun plenty of volume. Gather your hair into a loose, mid height ponytail, leaving a few face framing strands out at the front. Pin small sections of curls around the base one at a time, allowing the curls to overlap naturally for a full bun. Gently loosen a few pieces around the crown and pull out a couple of wispy strands around your face and complete the look with a light mist of hairspray to keep the curls in place!
3. Loose Messy Bun: Start by gathering your hair into a low ponytail. Twist the ponytail loosely and wrap it around itself to form a bun, leaving the ends out to create a twisted detail at the top. Secure the bun with bobby pins, then gently loosen the hair around the crown for added volume. Smooth any flyaways with a small amount of hair oil or hairspray, and pull out a few face framing pieces if you want to! This hairstyle looks especially elegant on a fresh blowout or sleek, straightened hair.
4: Ponytail
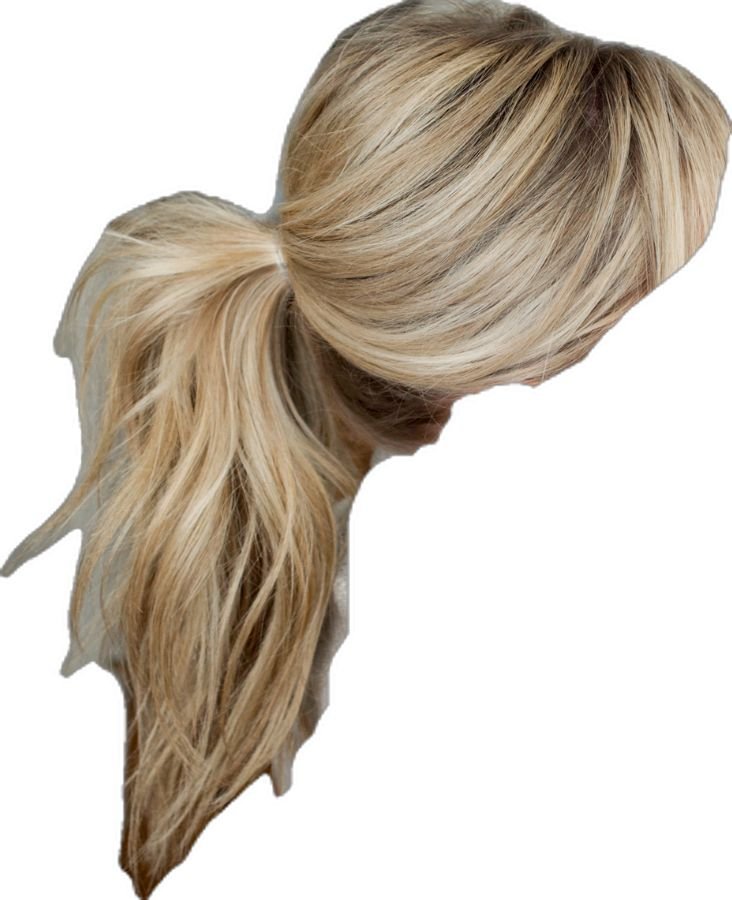
1. Teased Ponytail
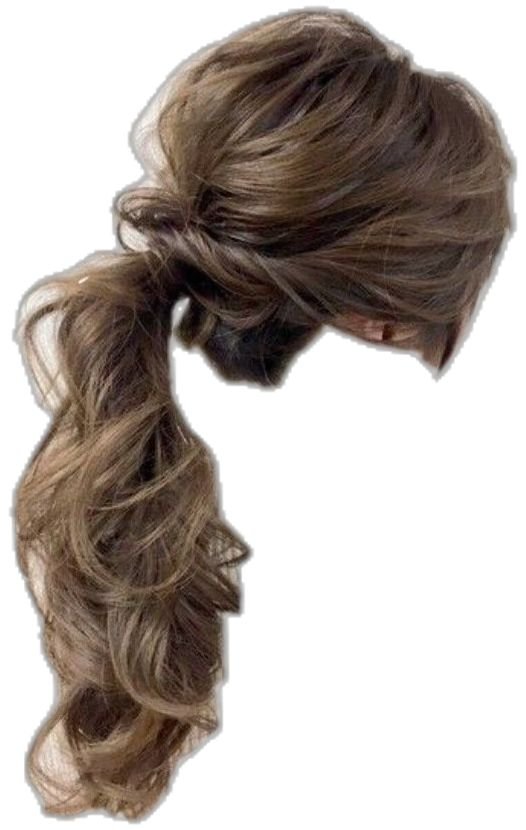
2. Twisted Ponytail
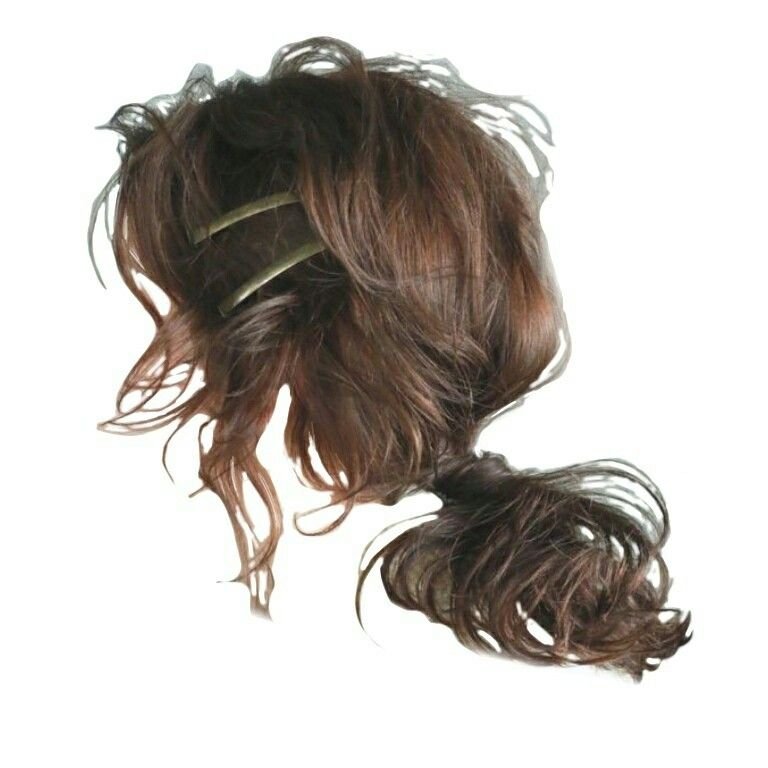
3. Low Ponytail
How To Achieve The Look:
1. Teased Ponytail: Start by prepping your hair with a texturizing spray or dry shampoo to add grip and lift. Lightly tease the hair at your crown with a fine tooth comb to create volume before gathering all your hair into a mid to low ponytail. Secure it with a sturdy hair tie and finish by gently pulling a few subtle strands around your face to frame it.
2. Twisted Ponytail: Prep your hair with a texturizing powder or spray to create maximum volume and hold. Then, curl medium sized sections of your hair with a styling wand to build tousled waves, then gently backcomb the crown section. Leave out small side sections above your ears, gather the rest into a loose mid height ponytail, and tie it securely with an elastic. Next, loosely twist those side sections back over the hair tie, wrapping the ends around the base to completely conceal the elastic before securing with bobby pins. Finish by gently pinching and pulling at small strands along the crown and ponytail to enhance the textured and messy look.
3. Low Ponytail: Apply sea salt spray or texturizing paste to dry hair and gather your hair low at the nape of your neck, securing it loosely with a hair tie (leave out face framing pieces). Wrap a small strand of hair around the elastic to conceal it, securing it underneath with a bobby pin. Complete the look by sweeping one side of your front layers back and securing it above your ear using two hair barrettes for a decorative touch.
5: Braid
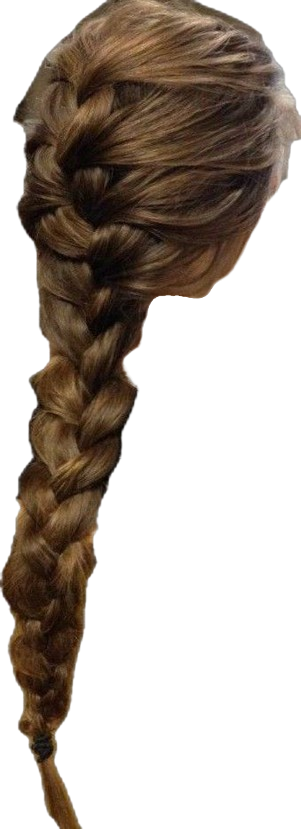
1. French Braid
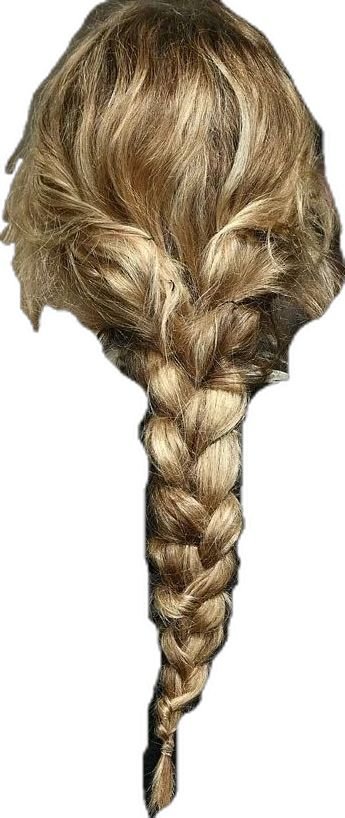
2. Messy Braid
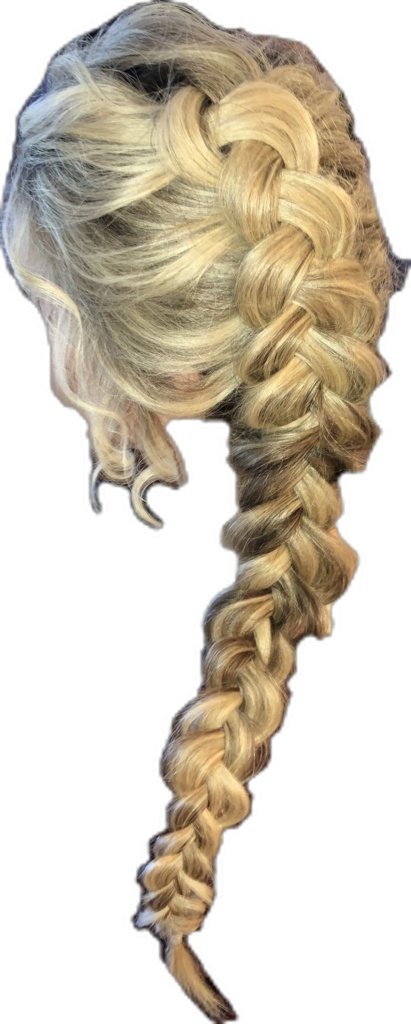
3. Dutch Braid
How To Achieve The Look:
1. French Braid: Section off the top portion of hair at your crown, divide it into three equal strands, and begin the braid by crossing the outer strands over the middle strand while gradually gathering small, even sections of hair from each side as you work down the back of your head. Once you reach the nape of your neck, continue braiding the remaining length in a standard three strand braid and secure the end with a small clear elastic. Finally, gently tug outward on the outer edges of each stitch to create a thicker, more voluminous look!!
2. Messy Braid: Start by applying a bit of dry shampoo or texturizing spray to give your hair grip and natural wave. Lightly tease the crown for subtle volume, then gather your hair loosely toward the nape of your neck, leaving side sections slightly slack to create a voluminous shape. Divide the length into three equal sections and weave a classic three strand braid, keeping the tension loose. Fasten the ends with a small clear elastic, then finish by gently tugging on the outer loops of the braid to fan them out for a fuller finish!
3. Dutch Braid: Sweep your hair over to one shoulder, then section off three strands near the top opposite temple and begin a dutch braid, crossing the outer strands under the middle strand rather than over, while incorporating new hair from along the hairline and crown. Curve the braid down and across the back of your head toward the opposite side, leaving a few loose, curled pieces around your face to frame it. Continue braiding under all the way to the ends, secure with a clear elastic, and finish by generously pulling the edges outward, to create that ultra thick shape.
6: Accessorised
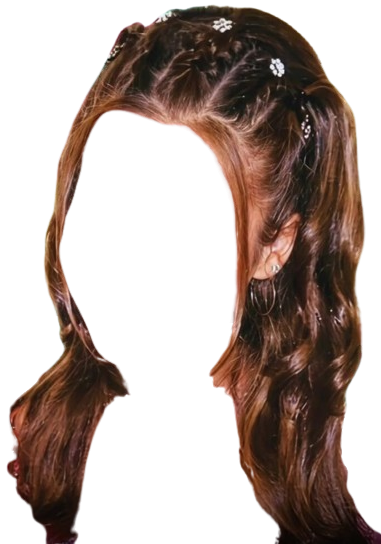
1. Mini Clips
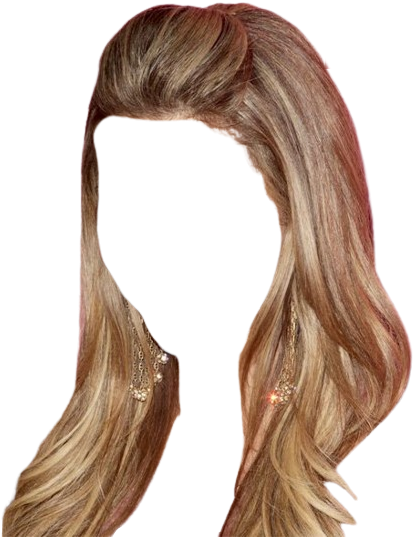
2. Poof
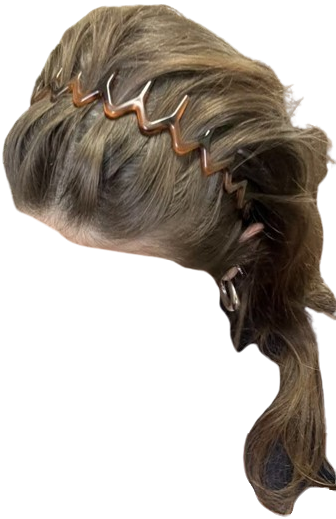
3. Zigzag Headband
How To Achieve The Look:
1. Mini Clips: Leave out thin strands near your front hairline to frame your face, then take the top section of hair from your crown and divide it into small, parallel sections running back from your forehead. Weave each small section into tight braids or twists heading toward the crown, securing the ends flat against your head. Finish by accessorising the braids with small flower clips or jewelled hair pins placed along the top for a decorative look.
2. Poof: Prep clean, dry hair with a volumising mousse and blow dry with a round brush for max volume. Separate the top section of hair from your hairline back to the crown, backcombing (teasing) the underside with a fine tooth comb to build height and structure. Smooth the top layer gently over the teased section to hide the tangles, sweep it back, and pin it securely at the back of your crown using bobby pins crossed in an ‘X’ shape. Finish by curling the ends of your hair upwards with a hair straightener!
3. Zigzag Headband: Use a tortoiseshell zigzag comb headband at your front hairline and push it straight back toward your crown, allowing the teeth to separate your hair into sleek, defined sections. This hairstyle looks especially amazing on a fresh blowout or straightened hair!!
. ݁ ₊ ⊹ . ݁ ⟡ ݁ . ⊹ ₊ ݁.. ݁₊ ⊹ . ݁ ⟡ ݁ . ⊹ ₊ ݁.. ݁₊ ⊹ . ݁ ⟡ ݁ . ⊹ ₊ ݁.. ݁₊ ⊹ . ݁ ⟡ ݁ . ⊹ ₊ ݁.. ݁₊ ⊹ . ݁ ⟡ ݁ . ⊹ ₊ ݁.. ݁₊ ⊹ . ݁ ⟡ ݁ . ⊹ ₊ ݁.. ݁₊ ⊹ . ݁ ⟡ ݁ . ⊹ ₊ ݁..
29 Responses
Omg, love this!
me to its so aesthetic love the 2000s vibe !
girl can you please do a curly version next?????
Right? I really need the curly version next
could you do a hairstyle for normal bangs?
could you do one for black people as well like braids and such?
yesss
I luvvvv your blog!! I was hoping you could do some posts on Jenny Humphrey from Gossip Girl?
yess!!
Hey girl can you do 4c hair next? tysm!!!
could you do one for shorter hair lengths xx
How about you add some 2000s afro and braided hairstyles! so we can include all hair types.
i’m making this into a series!! curly-coily is coming up next angel !
omgggg thank you girlllllll
ur a life saver xx
I love what you post: you always give great advice🧁
Ahhh I love this soo much! can you do more hair tips (growth, how to make it less frizzy, ect)
Yes! Also good products for different porosity types, hair texture, etc.
please do one for curly hair!
Can you do one for curly Hair?
LOVE this content , keep going :DDDD, :*
Can you please do one for shorter hair please ? Your advice is always soooooo good x
i wish i could do princess curls, but my hair can’t hold a curl for gods sake( doesnt matter if they’re heatless or w heat) ughh
loveee this
J’adore ce blog, je viens de le découvrir aujourd’hui et je suis déjà: “in love”.
curly version
plssss
Heyy! if you see this do you think you can do hairstyles for short and medium length hair? tysm
Adore this blog! I’m not quite sure how to request a topic formally, but it would make my day to get a tutorial on how to do a ballerina bun. I’d also like to know how you made this blog and how others could also make one of their own.
xx, mae ella
Can you please do one for curly hair please?